


I was given some delicious rhubarb by my very kind friend at work - her mum, Cynthia, has stacks of the stuff, more than she could ever use, so I set about thinking of a recipe to do this much over looked fruit some justice. Rhubarb always to end up in the 'make-do' crumble, but I fancied trying something a little bit different; and so 'Cynthia's rhubarb and orange meringue pie' came about. Cynthia is my friends mum, and I felt she deserved to have this named after her - after all, she was my inspiration!
Mr. B loves anything with a meringue top on it so I knew this would be a good idea, and whilst browsing around my favourite web sites, good old Delia came up trumps with the filling.
Ta-Dah!
You will need :
For the pastry -
250g plain flour
30g icing sugar
125g chilled butter cut into cubes
1 large egg yolk
203 tbsp cold water
For the filling -
700g rhubarb
Grated zest and juice of 3 oranges
150g golden caster sugar
3 large egg yolks
3 tbsp cornflour
For the meringue topping
4 large egg whites
225g golden caster sugar
1. Make the pastry: sift the flour and icing sugar into a large bowl. Add the butter and rub in with your fingertips until the mixture resembles breadcrumbs.
2. Mix in the egg yolk and enough cold water to make a soft dough. Wrap in cling film and pop in the fridge about 30 mins to firm up.
3. Roll out the dough onto a lightly floured surface and place into a 10inch loose bottomed flan tin. Return back to the fridge for around 20 minutes if you have time. Line with greaseproof paper, allowing to come up high over the rim of the flan tin, fill the shell with baking beans. Cook in a pre heated oven at 200c/ 180c fan/ gas 6 for 10 minutes. Remove the greaseproof paper and baking beans return back to the oven for a further 5 minutes or until the pastry shell has dried out.
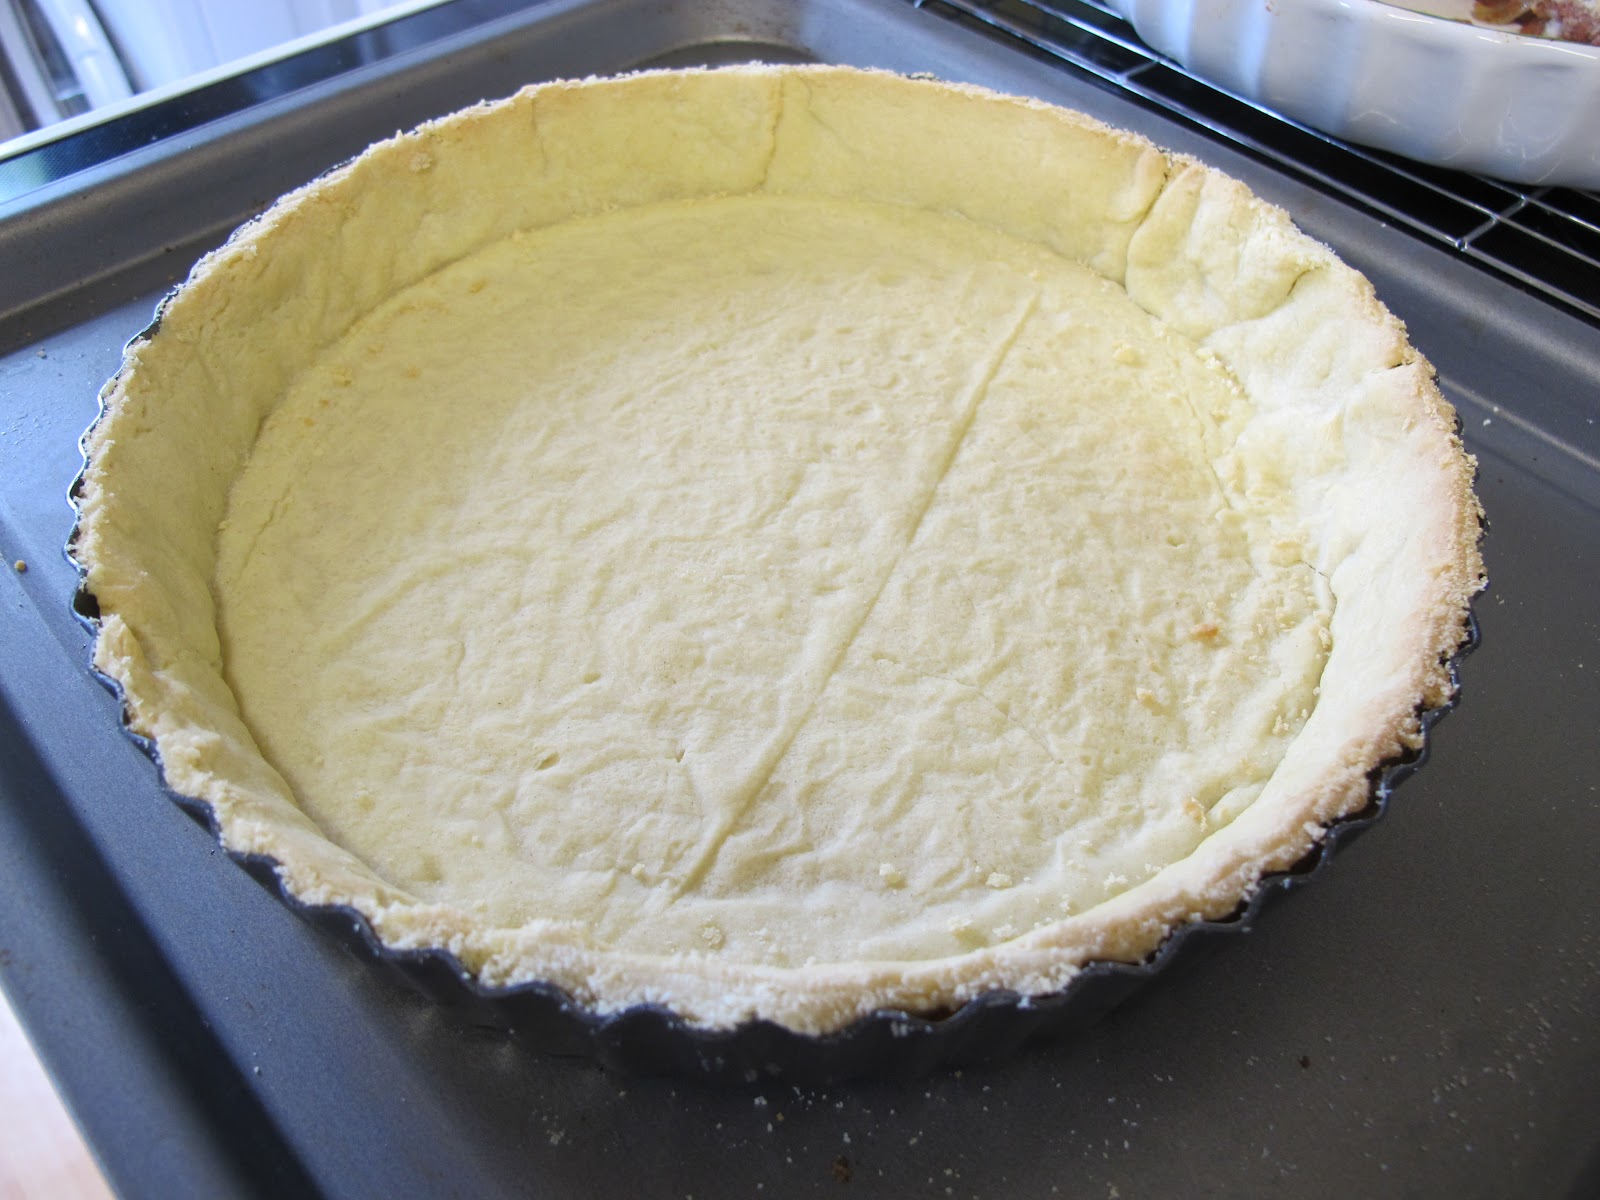
Now comes the fun bit!
4. Prepare the rhubarb by washing, trimming and cutting into approx. 2cm pieces. Scatter onto a shallow oven dish and sprinkle over the grated orange zest and caster sugar. Place in a moderate oven for approx. 25 mins. or until the rhubarb is soft. (For those of you who are terribly orangised, you could do this whilst the pastry shell is cooking.) remove from the oven and allow to cool slightly.
5. Pour the squeezed orange juice into a pan, saving a little of the juice to mix in with the cornflour to make a smooth paste. Heat the orange juice to a simmer and pour onto the cornflour mixture. Then return the whole thing back into the pan and whisk over the heat until it becomes very thick.
6. Strain the cooked rhubarb over a bowl or large jug and set the rhubarb aside in a bowl. Pour the rhubarb juices and the egg yolks into the cornflour mix and return to heat. Whisk for a couple of minutes to bring it back up to the original temperature and then remove from the heat. Pour this mixture over the rhubarb and give it all a good old mix.

7. Now for the meringue topping. Whisk four egg whites, in a large, clean bowl, until they stand up nicely, and then add the caster sugar a spoonful at a time, mixing well between each addition. Keep whisking away until the mixture looks soft and shiny and will stand in peaks.

8. Pour the rhubarb mixture into the pastry shell. Next plop the meringue mix onto the rhubarb, making sure it covers right to the edges. Now you can swirl away until your hearts content. I love trying to get high peaks in the meringue.

9. Place the pie on the centre shelf of your oven at 170c/150c fan for approx. 25 minutes or until the outside of the meringue is a nice golden colour and sounds hollow when you tap it.

You can leave it to stand for a couple of hours before serving, but I never can, hence to slightly runny texture in this picture. It tastes too nice to wait, and I like the filling still a little warm.

This was a lovely Sunday afternoon treat to enjoy with all this glorious weather we have been lucky enough to have. Whenever you decide to try your meringue pie, enjoy your day.
B x


