Blogger Wordpress Gadgets

Saturday 29 December 2012

Feast your 'Mince Pies' on these!


Merry Mince Pies


What a hectic time these past few weeks have been - but great fun too.
I seem to have been in overdrive recently, what with Christmas preparations (baking like a mad woman),
Miss. B's school nativity (and costume creation), play group, and writing cards to people.
I had no idea I am lucky enough to have so many friends.
I think this is my first year of experiencing Christmas at full belt, and it's been such a rush.
 
Santa Claus arrived just as promised, and managed to virtually fill our sitting room with boxes and bags.
What lucky people we are.
I sat and watched the mini B's have so much fun experiencing the delights of Christmas.
 
 
Miss B searching for just one more present under the tree!
 
 
It made me feel so happy and lucky to have the lives that we do, and to be thankful for the things we have,
but most of all the true meaning of this time of year - family.
 
Our parents came for Dinner and fed their tummies until they might burst.
The Christmas pudding was delicious and I even managed a flame on the top with warmed brandy.
That pale blue flame was quite something to witness!
 
I do hope you all had a good time too.


As promised, I have written up the recipe for the mince pies I mentioned in my last post.
I apologise it didn't make it you you in time for the Christmas rush but hopefully you may have a little time to 'play' in the kitchen during the holidays.


You will need :
 
For the Christmas Mincemeat -
  • 900g mixed dried fruit (this can be a mixture of whatever takes your fancy)
  • 450g cooking apples, peeled and grated
  • 2 tsps ground mixed spice
  • 575ml medium-sweet or dry cider
  • 2 tbsp brandy
  •  
     
1. Simmer the dried fruits, apples and spice in the cider for about 20 minutes, or until the fruit is pulpy and most of the liquid has evaporated.
 
2. Pack into cooled, sterlisied jars and cover with a wax disc and cellophene cover, or store in a polythene tub. Keep in a cool place or the fridge until reuqired. It keeps for up to four months, so you can indulge yourself and make mince pies at Easter if you fancy!
 
 
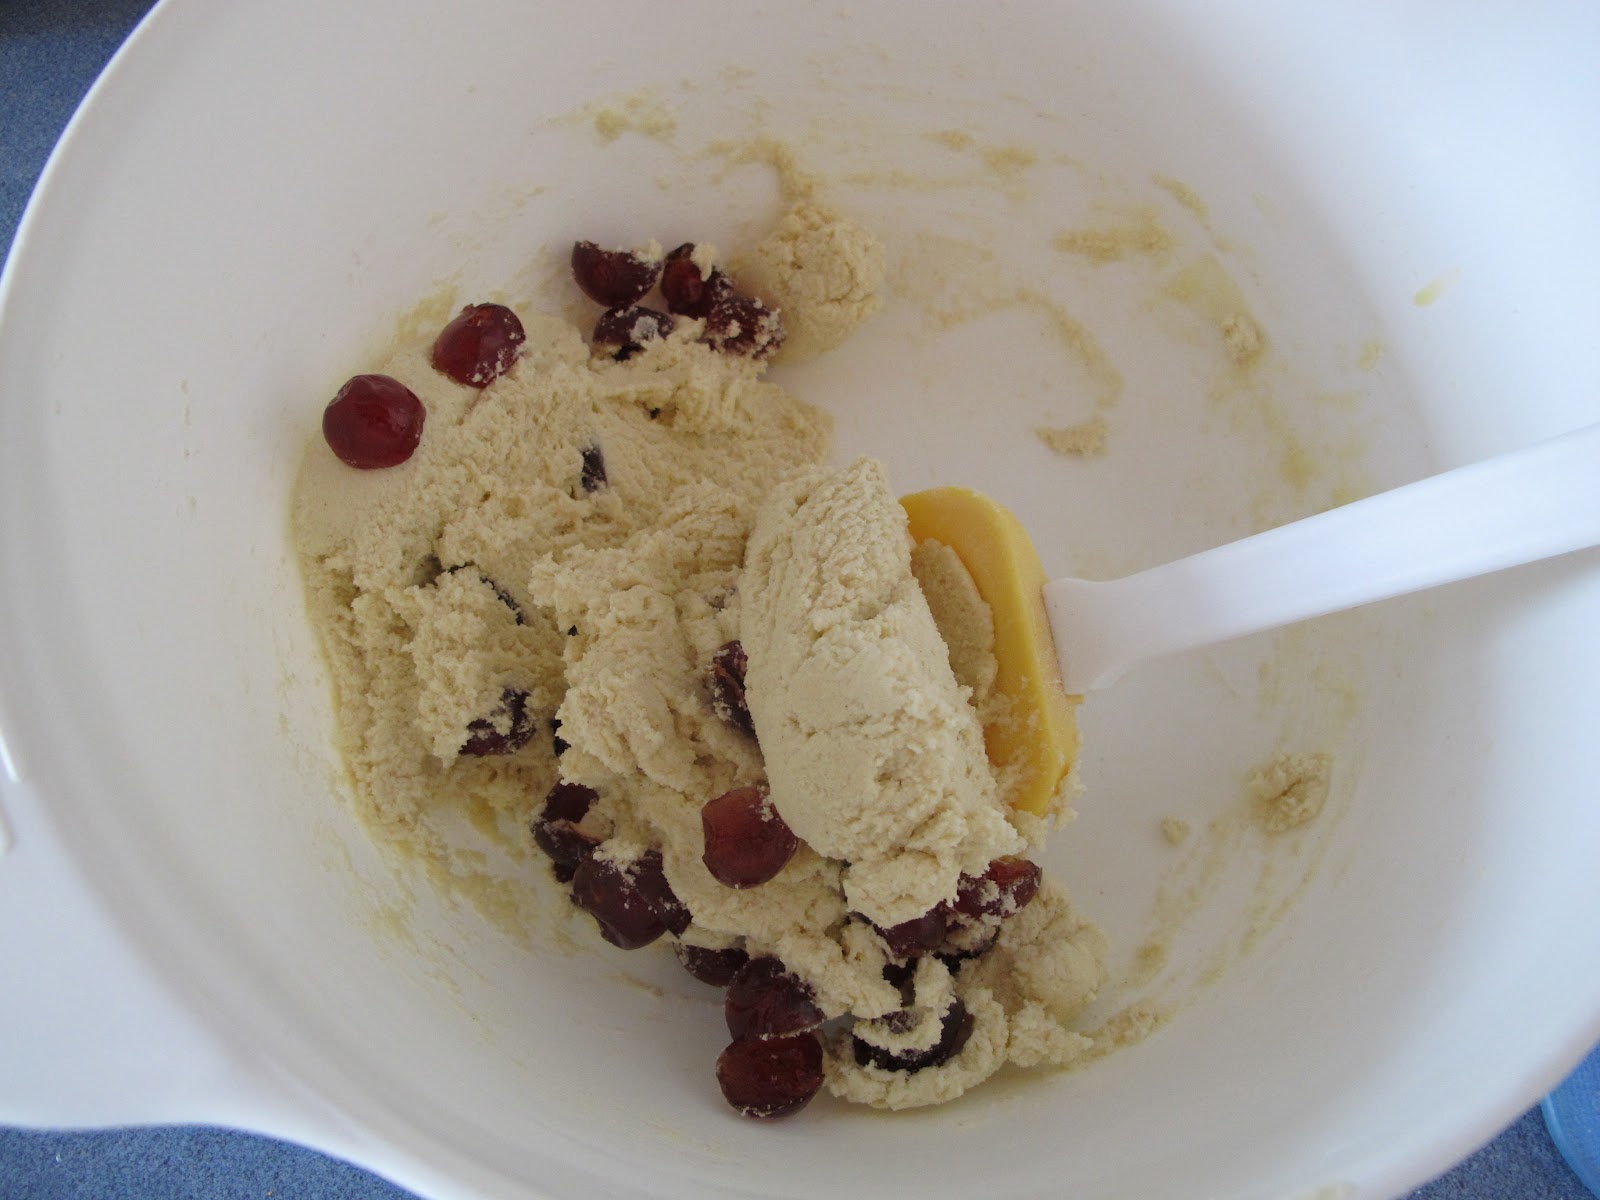
Now to make the mince pies, I followed The Boy Who Bakes receipe which you will find here.
It is very simple and utterly delicious.
There is also a little secret ingredient which I shan't spoil by telling you about it here - you'll have to look at Edd's recipe to discover it for yourself!
I promise you'll  enjoy it.


Well, I shall wish you all a very Happy New Year
and enjoy your New Year's Day. 


x

Sunday 25 November 2012

Stir Up Sunday


Mixey, mixey, mixey!

Miss. B 'feeding' the Christmas cakes


Yesterday was 'Stir up Sunday' in case you hadn't noticed - or as Miss. B renamed it "mixey, mixey, mixey", which was just what we seemed to do most of the day
(but had some good fun along the way).
I am still a bit of a novice with the traditions of this day, but I have enjoyed it more each year, so the date is circled on  my calendar as an annual ritual now.

I was determined to get my Christmas puddings and sweet mincemeat made, and anything else was going to be a bonus.
I achieved the 'must do's', which I was happy with.

The house smelt wonderful and it did make us feel the Christmas spirit (not the rum and brandy variety I hasten to add) despite the dreadful weather.


Christmas Pudding

 
I have made this recipe for the last few years and so far, it has always delivered.
I have adapted this recipe from the lovely Ruth's recipe at
 The Pink Whisk.
Do give her blog a look, it's a host of wonderful recipes and advice.

(I have tweaked the dried fruits and omitted a few things that are not to my taste.)
That's the beauty of these sort of recipes - you can put in all the things you like and take out the things you don't like, as long as your weights match up.


You will need :


50g currants
50g dried apricots, chopped
30g dates, de-stoned and chopped
140g sultanas
130g raisins
50g ground almonds
2 tsp mixed cake spice
50g plain flour
pinch of salt
110g fresh breadcrumbs (food processor is great for this)
110g soft light brown sugar
110g suet
Zest of one lemon
2 tbsp black treacle
2 large eggs
2 tbsp rum (or brandy if you prefer)

This will make 1 litre pudding in a basin, or smaller if you wish but you will need more basins, obviously.


1. Grease the bowl(s) and pop a small disc of greaseproof paper into the bottom of the bowl to prevent it from sticking.

2. Place the dried fruit, ground almonds, plain flour, cake spice and salt into a large bowl and give it a good mix to coat the fruit with the flour mix.

3. Add the breadcrumbs, suet, brown sugar and lemon zest and give it another good stir.

4. Make a small well in the centre of the bowl and crack in the eggs, dollop in the treacle (great word, dollop) and the alcohol of your choice.
Stir it up really well until everything feels fully combined.
The mix should feel quite soft but if it appears a little on the dry side, just add a splash of milk until it loosens.

5. Put the mixture into the prepared bowl and press down with the back of the spoon the level the top.

6. You will need to cover the top of the bowl with greaseproof paper and foil whilst cooking.
Take a large piece of greaseproof paper, larger than the bowl, and fold a pleat across the centre to allow for expansion during cooking.
Lay it over the top of the pudding and next place two squares of foil on top, and secure firmly with some string.


Ta-dah - bongo drums fit for a king!


7. Now to cook them. For this I used a either a steamer or a slow cooker.
In a steamer, the 1 litre pudding will take 8 hours, and in the slow cooker 10hrs, which I know seems like a long time, but believe me, it will be worth it.
A word of warning, should you choose to steam the pudding, your windows and walls will be a bit damp after all that cooking.
The slow cooker was a much less soggy affair.
Smaller puddings will take less time but if you check Ruth's recipe she gives some really accurate details on this.

8. Once cooked, remove the paper and foil and allow to cool in the basin.
Run a knife around the edge of the pudding to loosen it and wrap in a fresh piece of greaseproof paper and foil.


Tuck it away in a nice cool, dry place - I use the cupboard under the stairs, and allow to mature before Santa comes.

When you are ready to eat your pudding, simply steam it for a further one hour and eat with lashings of whatever topping you like - rum sauce is always my favourite.
 

I also made the sweet mincemeat but I shall give you the recipe for this a little later.
In the mean time here's a sneaky peek at the finished product - it tasted delicious.
Hopefully it will last long enough to put into the pies.


Enjoy your day.

x

Thursday 22 November 2012

Some 'Bunny' to Love


Little Cotton Egg Cosy


I just had to share this little chap with you - I have affectionately named him Noel, as he to be a Christmas gift for a dear friend's grandson.

He is made from a pattern by the lovely Julie at Little Cotton Rabbits. She makes the most wonderful bunnys, and some of her work and patterns can be purchased through Etsy here.

I made him using 4ply cotton and chose a festive green to use in his sweater.
I think I shall have to try and make a few more of these little fellows before Christmas comes.

This particular project is perhaps not best suited to the 'novice knitter' but I'm sure if you decide to have a go you will love the end result.
Julie's pattern is very simple to follow with lots of step-by-step pictures to keep you right.

The tricky bit for me was getting the stuffing right to achieve the correct shape of the head, and also attaching the arms so he didn't look like he was about to take off in flight.

I thoroughly enjoyed knitting him and there is such a wide choice of yarns you could use, the limitations are endless.
 Rowan did produce a lovely, soft 4ply cotton but sadly, this has now been discontinued, therefore old stock is very hard to come by - if you find some snap it up as fast as you can.

Enjoy your day!


x

Wednesday 21 November 2012

A Birthday Cake Fit For A Princess


Happy Halloween Birthday


I finally seem to have been able to grab a few minutes to sit and update my blog. These last few weeks have been VERY hectic (nothing new there then) what with birthdays, half term holidays, and the usual coughs and colds for this time of year.

Miss B celebrated her fifth birthday on Halloween, and the entire half term holiday seemed to end up being a week long celebration - such fun.


There was a pool party for school friends, which was amazing. This was a rather frantic time for me as it was the first childs birthday party I have ever organised. Nobody warned me about these extra things I would have to encounter when I enrolled on the 'parenting course' but it was worth all the stress.
The cake was a princess in all her glory. It took rather a lot of sandwich cakes - 5 in all - filled with butter cream icing and then fondant to cover the exterior. There are some very good tutorials on YouTube and I have linked the one I tried to emmulate here.
Miss B was thrilled with the end result.
It was a shame to cut into it.


 There was also a fairy themed photo shoot (a little something more for me rather than Miss B) which she enjoyed immensely. Shopping for a new bike for her birthday present - Hello Kitty was the only one for her!


Next on the agenda was lunch with grandparents on Halloween itself at our local Italian restaurant.


This has been a favourite of Mr. B and mine for many years, long before little people came along, and has now become Miss. B's first choice whenever we ask her where she would like to go.
Garlic bread being the main attraction!


We also managed to squeeze in a day trip to Helmsley - cream tea being the main highlight of the day as usual.
We enjoyed an open air version of this treat with a lovely chiminea to keep us toastie and warm.


The smell of wood smoke evoked some long forgotten child hood memories. It reminded me of cold winter days at home, my dad stoking the fire and throwing a log onto it, and then watching the burning embers glow orange as it slowly fell to pieces.
The joy of having open fires. It's strange, because at the time an open fire didn't seem anything like as special as it does now. It was just an everyday part of family life as we grew up. It's true that you never appreciate things until they are gone.
Although I'm sure my parents may not have felt quite the same when it came to cleaning the grate, emptying the ash tray and laying the fire every morning!


I am am now fully into the baking swing for Christmas, with the house smelling of some wonderful spiced aromas.
The temptation to tuck into one of the cakes is almost too much to resist, but resist I must.
I will give you a sneaky peak at the goodies soon but until then, enjoy your day!


x

Tuesday 16 October 2012

The Best Laid Plans......


Happy Birthday Baby

 
The Birthday Hat
(can you spot the overflowing knitting basket?)
 
I cannot believe how quickly the past year has flown by. It only seems like two minutes ago that I was bringing my lovely little bundle of cuddly, snugly, joy home and here we are celebrating his first birthday!
Baby B is fast becoming Little B.

After a somewhat frantic week at work preparing for a big inspection, for which we are given a measly
24 hours notice, (all went well with that thankfully) I knuckled down to some serious cake baking and decorating for Baby B's birthday. We had asked a few family members over for Sunday Tea, and I was so looking forward to celebrating his birthday with loved ones, and watching his little face when everybody sang Happy Birthday to him - this did not go quite according to plan!

His cake was great fun to do and my first attempt at a two tier creation!
Baby B loves Thomas the Tank Engine and so the obvious choice for a theme had to be Thomas inspired. After a bit of 'googling' I found a few ideas and the creative juices began to flow.
Although, I did ask myself, standing finishing things off at a quarter to midnight on Saturday, 
"why didn't I just buy a cake?".


I am so pleased I didn't - the satisfaction of being able to say I made his very first birthday cake was such a reward for all my hard work (and sleep deprivation), and I think he liked it, even if he can't speak just yet!

And here it is


Tah-dah!!!!

It was a basic vanilla sponge, sandwiched together with home-made strawberry jam and butter icing.
Covered in coloured fondant icing and decorated with various coloured fondant shapes.
I really enjoyed watching how the whole decoration came together and felt such a rush when I 'unveiled' the completed cake to Mr B. I think he was suitably impressed (a man of few words I have to say).

The day of the Baby B's birthday started off pretty much as all Sunday mornings do - swimming lesson for Miss B, and then a dash back to open cards and presents.
However, Little man seemed a bit out of sorts and after a few things happening that just didn't feel right, a trip to A&E beckoned.

We bundled everyone up and into the car, and made a few quick telephone calls to cancel his party. I have to say the staff at A&E were amazing. We were seen quickly and after several hours of observation,  which involved close inspection of the contents of  Baby B's nappies (what a lovely job these emergency medicine doctors have) it was concluded that he was suffering with colitis and a viral infection - poor Baby B.
But at least it was nothing too serious. After breathing a HUGE sigh of relief we headed home and proceeded to light the single candle on top of the birthday cake and sing a heart felt rendition of Happy Birthday to You, which made everyone cheer up.


Miss B seemed to think it was her birthday too as she 'helped' open all of the cards and presents, and blow out the candle, three times!

All told, I can say Sunday was not quite the day I had hoped for, but certainly a day we shall not forget!

Hope you enjoy your day!


Thursday 20 September 2012

Many Hands Make Light Work.....


The Sweetest Little Scones


September has come around and everything seems to be settling back into a comfortable and reassuring routine.

 ♥

Miss B is nicely ensconced in her Reception class, and seems to be loving it. I can admit I dreaded the first day of term. It was not, however, worrying about how she would cope or whether she would eat her school dinners, but how I felt about the whole experience of having to let my precious little girl go out into the world!

How selfish I hear you say - and yes I admit it was, but my only defence is that I miss her. I miss her company during my days when I'm at home; I miss her noisy chatter whilst playing with her toys and their imaginary games; I miss watching her playing with her little brother as I peep through the crack in the door at them both; I miss baking with her before we had to get ready for Nursery; I miss curling up on the settee together and watching Curious George before lunch; I miss laughing with her about her curious questions and observations about everyday life;
but most of all I miss our spontaneous kisses and cuddles and secrets any Mother & Daughter is lucky enough to share.

We know that we have to let our children 'go' but none the less, when the time comes it can be so bittersweet. To see them grow in both confidence and ability, and feel so proud when they achieve these milestones, but the realisation that our babies must start to make their way in the world can be tinged with such sadness too. We must slowly peel back some of the 'cotton wool' that we have kept them so tightly wrapped in for these first few years of their life, and as a mother or father, quietly weep for the loss of our babies, but enjoy  and cherish the blossoming young person that emerges before us.

So this post is dedicated to all the mothers (and fathers) and children that are privileged to share such special times together - treasure these memories.


Miss B and I enjoyed making these lovely little scones in the last week of the summer holidays. They are so simple and easy to make, and delicious with a little raspberry jam and cream - clotted of course!


You will need :

500g plain flour
1 tsp bicarbonate of soda
2 tsp cream of tartar
1 tsp salt
125g unsalted cold butter, cubed. If you are using salted butter reduce the salt to half a teaspoon
25g caster sugar
1 egg, beaten
275ml buttermilk


1. Pre heat the oven to 200c/180c fan.

2. Sift the flour, bicarbonate of soda, cream of tartar and salt into a large mixing bowl. Rub in the butter until the mixture resembles breadcrumbs.


( Little hands working hard)


3. Add the sugar and give it a good mix.

4. Keep a little of the beaten egg aside (you will use this to wash the scones before baking) and mix the remaining egg with the buttermilk. Add this to the flour mix and stir briefly to combine into a moist dough.


5. Lightly flour your work surface and knead the dough lightly to combine. Press out or roll the dough to approx 2cm thickness. I sometimes press out a little thicker which makes the scones bigger.


6. Using a cutter of your choice, cut out the scones and place on a lined baking tray. I tend to use a smaller cutter which produces a dainty little scone.


7. Add a little buttermilk to the remaining egg you kept from earlier, mix, and brush the scones with this egg wash before placing in the oven for 10-12 minutes, or until golden brown on the top.


I often think these taste better the next day but will keep in an air tight container for a good 3-4 days.

Now for the best bit - pop the kettle on, make a nice cuppa, sit back and relax with your scone, jam and cream.


Enjoy your day

x

Friday 24 August 2012

Shiney New Pins


Whilst on holiday recently, I came across a lovely little wool shop in Buxton. It had all manner of wools and patterns but these beautiful needles called to me as I perused the shelves.

I had read about them in a knitting magazine a little while ago but not seen any in the flesh. When I spotted them I just had to have them. They are birch wood, made by Brittany, and they are the most comfortable needles I can honestly say I have ever used. Not too expensive at just over £5.00. What I would consider an investment - your tools are your trade so better quality tools make work more fun, right?
Well that's my ethos and I'm sticking to it. The turned ends make them so pretty. Every time I see them poking out of my knitting basket I get a little rush, and the desire to pick them up is almost to much to resist.

I was itching to set about a new project and try them out. Considering Baby Bee is nine months old now, and I am ashamed to admit I have not made anything for him yet, I figured it was most definately his turn, and promptly started to make him a little jacket.

The wool I used was something I had picked up ages ago in a bargain bin on another of our travels, Robin Picasso double knitting.
I was really impressed with the quality of the yarn as I worked with it, and that, plus the beautiful new needles, made this project a pleasure.


Another project just finished is a cardigan for Miss Bee. For this I used wool I picked up from a day trip to Helmsley in North Yorkshire. I started it back in April, but time seemed to stand still a bit with this, and it has taken forever to finish. None the less, finished it finally is and I am really pleased with the result. This was a yarn from King Cole called Splash Rose Hue. I was a little sceptical as to how this may knit up as past experience with these flecked yarns have not always produced the best results, but on this occasion the pattern looked very even and the colours were very attractive. There are quite a few colour choices in the range. The buttons were from my local wool shop, but again I think they have worked really well with the colour. The important thing is Miss. Bee loves it. That makes me happy.


My next project is something for the baby but I will keep you in suspence for just a little longer - but I'm sure you will like it. Suffice to say, I got such a wonderful little butterfly in my stomach when I went to buy the wool today.
 
Hope you all have fun this Bank Holiday Weekend and whatever your plans may be, enjoy your day.
 
B x

Friday 3 August 2012

'Emergency Rations'

Cherry and Almond Cookies


Following a wonderful (and somewhat tiring) family holiday in the South East of England, we returned home to - horror of horrors - an empty biscuit tin!!!!! Such a thing can not, and should not be allowed to happen in our house, but I suspect my cat sitter had their hands in the cookie jar. A small price to pay for my sister being kind enough to come and take care of 'stupid cat' every day, and I'm pleased to say  he did seem to have missed us upon our return. He is not an affectionate cat in any shape or form, but I know he loves us in his own funny feline way.

One of my first jobs to tackle, after setting the washing machine into overdrive, was to replenish the cookie jar pronto. These biscuits are one of the quickest and easiest recipes I have, and go back to again and again. I'm sure you will enjoy them.

You will need :


125g softened butter
125g caster sugar
2 tbsp condensed milk
1/2 tsp almond essence
175g self raising flour
75g glace cherries
Handful of flaked almonds to decorate


1. Pre-heat the oven to 150c/fan 130/ gas 2. Cream the butter and sugar together until pale and fluffy using an electric whisk or stand mixer.
2. Beat in the condensed milk and almond essence until smooth and well incorporated.

3. Mix in the self raising flour and then add the chopped glace cherries. I tend to  half my cherries because I enjoy biting into the cookies and getting a lovely big chunk of 'cherryness' but you can chop yours to suit your own taste.
4. Roll the mixture into small apricot sized balls and place on a lined baking tray allowing a 4 - 5cm space in between each cookie to accomodate for spreading whilst in the oven.
Flatten the dough lightly with your fingers or the back of a spoon, and sprinkle liberally with the flaked almonds. I usually get about 15-17 cookies out of one batch of dough.

5. Place the tray in the pre heated oven and bake for approximately 12 minutes. Keep a close eye on them and once the edges start to turn a lovely golden colour they are done.

6. Allow to cool completely on a wire rack. At this point you can simply eat them and enjoy, or drizzle with a little icing if preferred. To do this simply mix 2 tbsp of icing sugar with a little lemon juice until a thick pouring consistency is reached. Pop the icing mixture into an icing bag and drizzle across the cookies in whatever pattern takes your fancy.

If you can wait long enough for the icing to set, sit back and enjoy with a cuppa.

Enjoy your day.

B x

Thursday 12 July 2012

They're not Terry's - They're MINE

Double Chocolate Orange Cookies


These cookies where inspired by the ever popular Terry's Chocolate Orange, which was half price in Tesco recently. I bought it on a whim with the intention of simply devouring with a cuppa, but upon contemplation, decided I could put it to better use in a recipe.

 
These cookies are an adaptation of the double chocolate chip cookies recipe, but with the chocolate being replaced by the whole chocolate orange. It is more chocolate than the recipe states, but it will not affect the cooking time, etc. It just gives you a whole lot more chocolate to enjoy!

You will need :

125g soft unsalted butter
125g caster sugar
2 tbsp condensed milk
125g self-raising flour, sifted
50g cocoa, sifted
1 whole Terry's chocolate orange - yep that's right, a whole one! Cut into small to medium sized chunks
50g white chocolate - optional, to decorate


1. Pre heat the oven to 150c, fan 130, gas 2. Using an electric hand whisk or mixer, cream the butter and sugar together until pale and fluffy.


2. Beat in the condensed milk, then add the flour, cocoa powder and a pinch of salt, and mix.


3. Stir in the yummy chocolate orange chunks, without eating any - I bet you can't.
(Miss B is just about the snaffle herself a handful here)


4. Roll into walnut sized balls and space approx. 5cm apart on lined baking trays. Gently squash down with the back of a spoon.


I usually manage around 20 cookies from one mix but I made these a little bit bigger therefore got around 15.
Bake in the oven for approximately 12 minutes, until just firm at the edges but still a little soft in the centre.

5. Allow to cool for a few minutes before transferring onto a wire rack to cool.


6. Melt the white chocolate in a microwave safe bowl for bursts of 30 seconds, until runny and smooth.
Give it a good stir and pop into a piping bag and drizzle over the top of the biscuits. I used a zig-zag pattern but you can really go to town on this and do what ever takes your fancy.


And as usual these tasty treats lasted all of 36 hours in the tin!
Enjoy your day!
B x


Wednesday 27 June 2012

Death by Chocolate Brownie......


After a very hectic few weeks at home, things have finally started to calm down again.
There was Little B's christening, which entailed what felt like a mammoth amount of organisation and cooking, and then Miss. B's school summer fayre to bake something for too.
All of this activity culminated in my oven giving up on me, with a tray of bownies in there- arghhhhhhh
The element had burnt out. So, with a visit from my lovely handy man to repair it, and £55 the worse for wear, I was able to make some more of these delightful treats, ready for the summer fayre.

My quest for the 'perfect brownie' has gone on for many years (and probably will continue forever), and this one comes pretty darn close!The recipe is very straight forward and credit for the recipe must go to theboywhobakes.co.uk 
I have used different types of brown sugar in the recpie at times, depending upon what I have to hand, and the mix has always given that lovely deep fudge flavour.


You will need :

180g plain flour
3 tbsp cocoa powder
Generous pinch of salt
300g dark chocolate ( at least 60% cocoa solids)
200g unsalted butter
150g caster sugar
220g light brown sugar
4 eggs
1 tsp vanilla extract


1. Pre heat your oven to 180c / 160c fan / gas mark 4. Grease and line a 23 x 33 cm tray. I used these foil trays from Lakeland .Great for transporting in afterwards if necessary, and saves on the washing up.


2. Sift the flour, cocoa powder and salt together into a bowl and set aside.


3. In a medium pan set over a medium heat melt the chocolate and butter togerther, whisk in the sugars and then remove from the heat.


4. Firmly whisk in the eggs and vanilla until nice and fluffy and well combined. The batter should have slightly thickened by now.


5, Fold in the flour until just combined. Take care not to overwork the mixture. Pour the batter into your prepared tin and level the mix over with a spatula.


(Do you like my Teddy Bear Cookie Jar? I've had him for years and I never tire of his friendly, inviting smile!)


6. Bake in the oven for 30 minutes or so. The batter should have a delicate crust over the top and a skewer inserted into the centre should have a few moist crumbs on it.


(You are not seeing double here - I baked two trays - one for school and one for home)

Allow to cool in the pan completely before removing. Slice up into whatever size squares you like. I vary my slices depending on my mood. Small bite size are good because you can wolf down half a dozen and not feel too guilty. The larger squares are perhaps for the more discerning of guests that like to savour each mouthful. Either way they taste delicious!!

I hope you enjoy baking these brownies, and enjoy eating them even more!
Enjoy your day.


B x